
Geez. I don’t even know where to begin with this one. We worked on this project for days. There are so many steps. So. Many. Steps!!
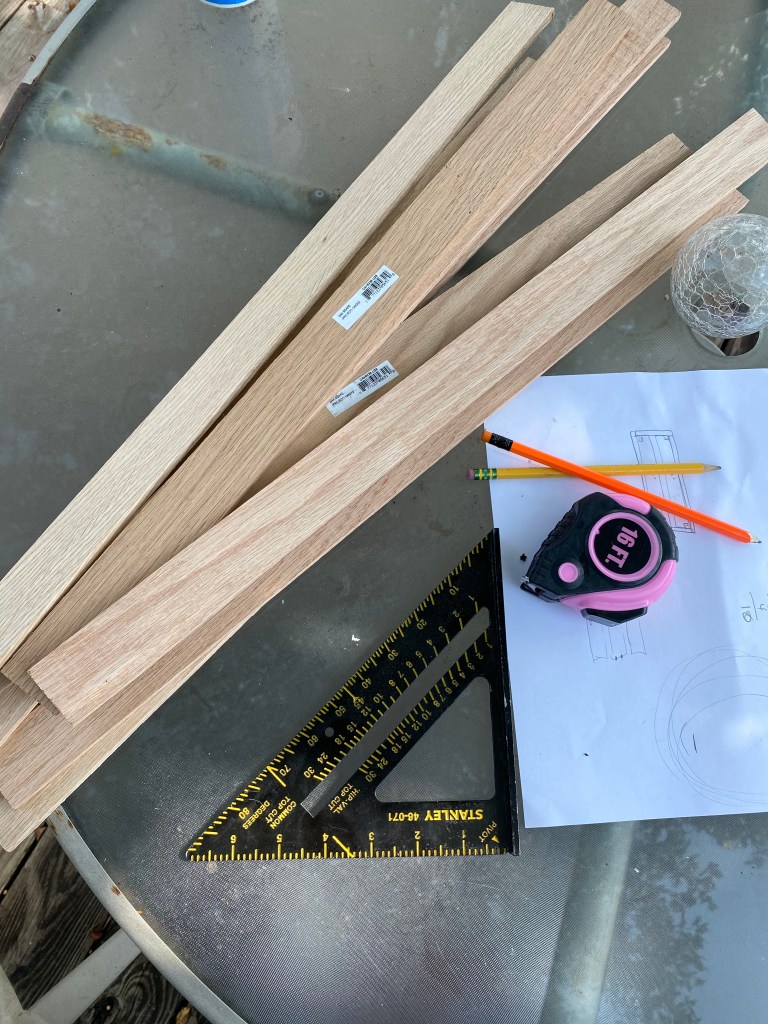
I had a vision in my head of what I wanted, and how to build it. So, we went to Lowe’s and got all the material that I needed. We had some scrap boards left over from some previous projects, so we didn’t have to buy too much.
I ended up getting these little oak plank-like trim boards, They were about $1.75 each or so. I grabbed ten of them (just to be safe).
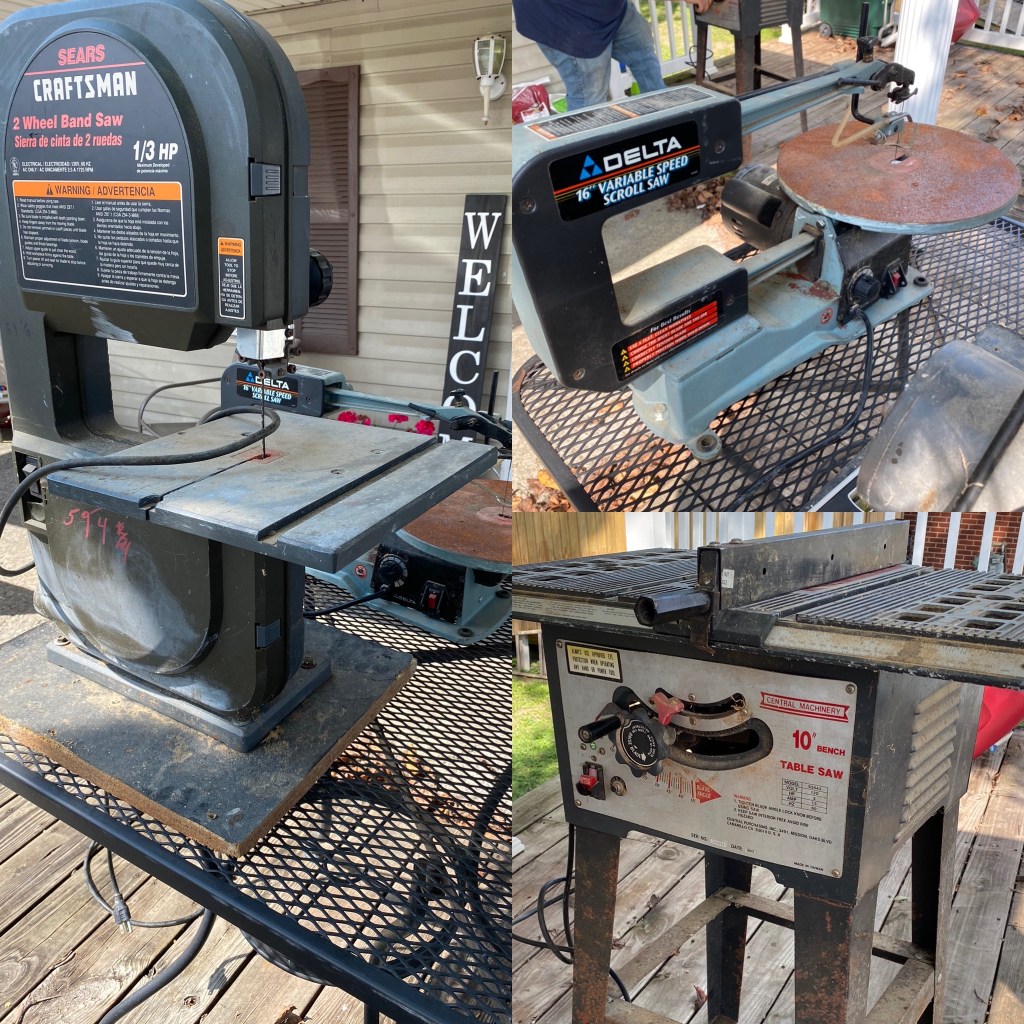
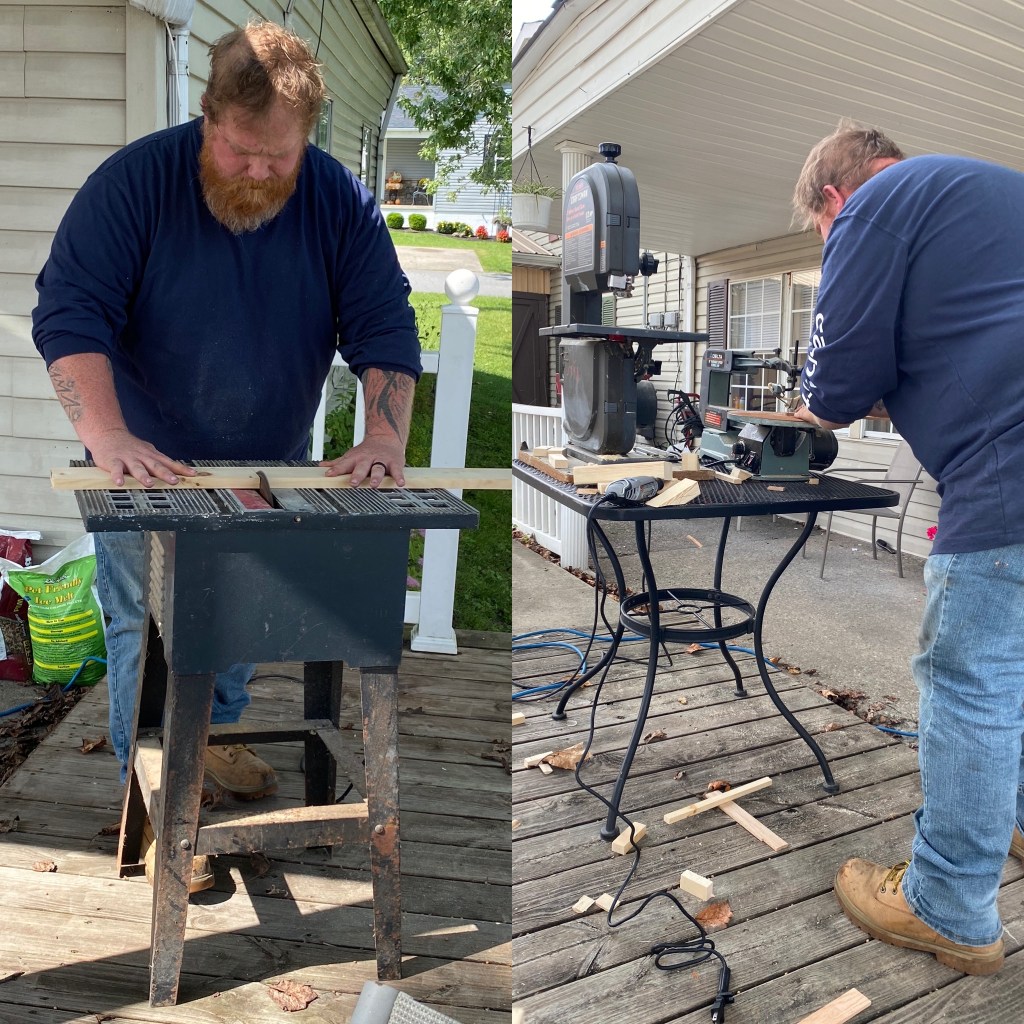
My stepdad gave us three saws the other day that belonged to my grandfather, so we used those to cut our boards, They’re old saws, but they did what we needed them to.
I made all of the measurements and marked where the boards needed to be cut, and Donald cut them for me. I really enjoyed having him out there helping me. We had a lot of fun building this!!
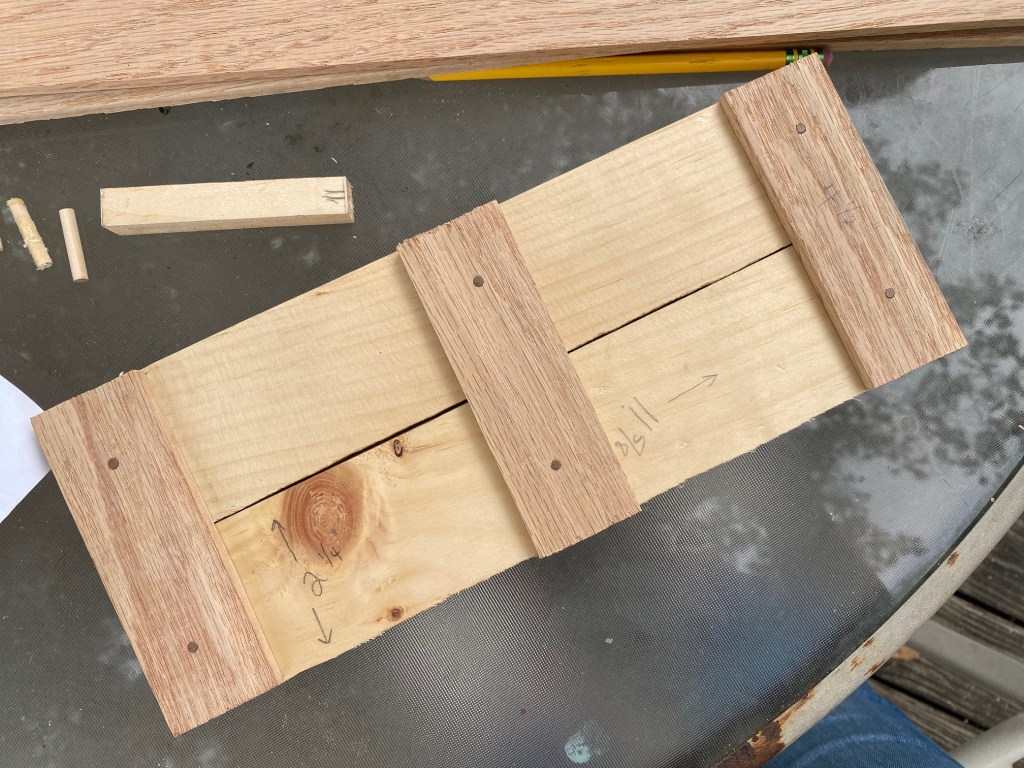
I used 1×3’s for the base. These were made from the scrap wood we had lying around. They ended up being 11 5/8″ long. But, I recommend that if you are going to use this crate for the Mason jars like I had planned on doing, I would add another inch.

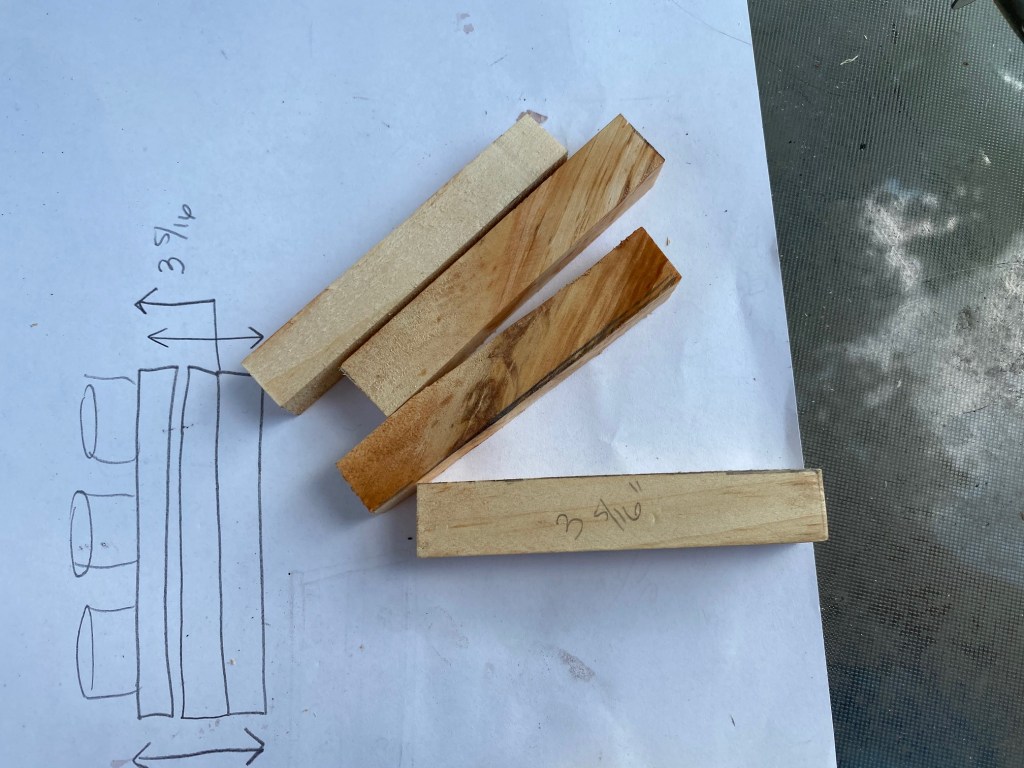
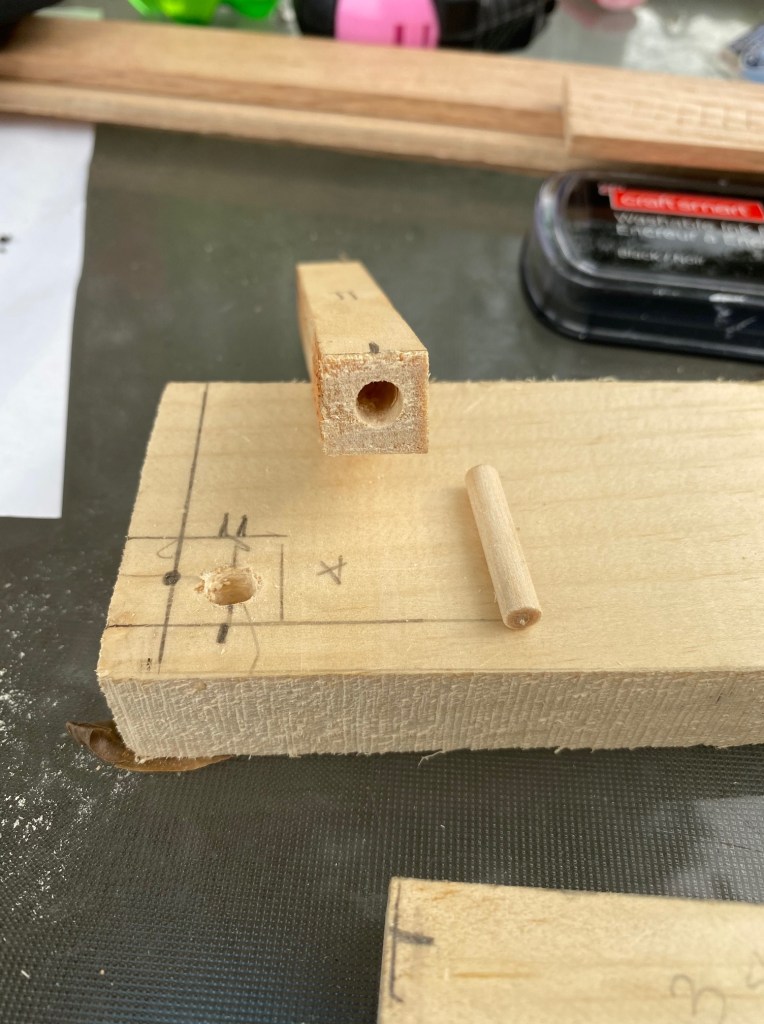
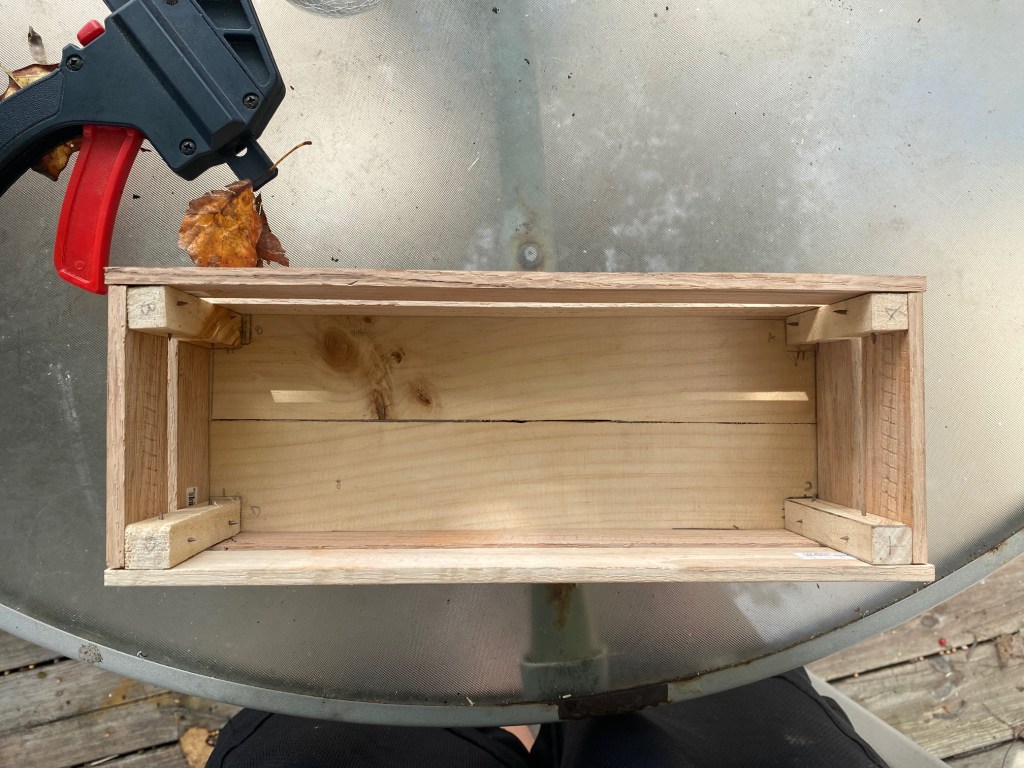
To make the inside corner pieces, Donald cut 1x1x3 5/16″ pieces from one of the boards we had.
Then we screwed holes into the bottom of the corner pieces and into the base, and measured where they would be attached to the base. Donald also made dowels to make sure they would be secure.
Because we used 1×3’s as the base, we didn’t have any way to attach the boards together ((you can use 1×6’s and you can skip this step)), so we cut small pieces of the trim board and attached them to the bottom of the 1×3’s.
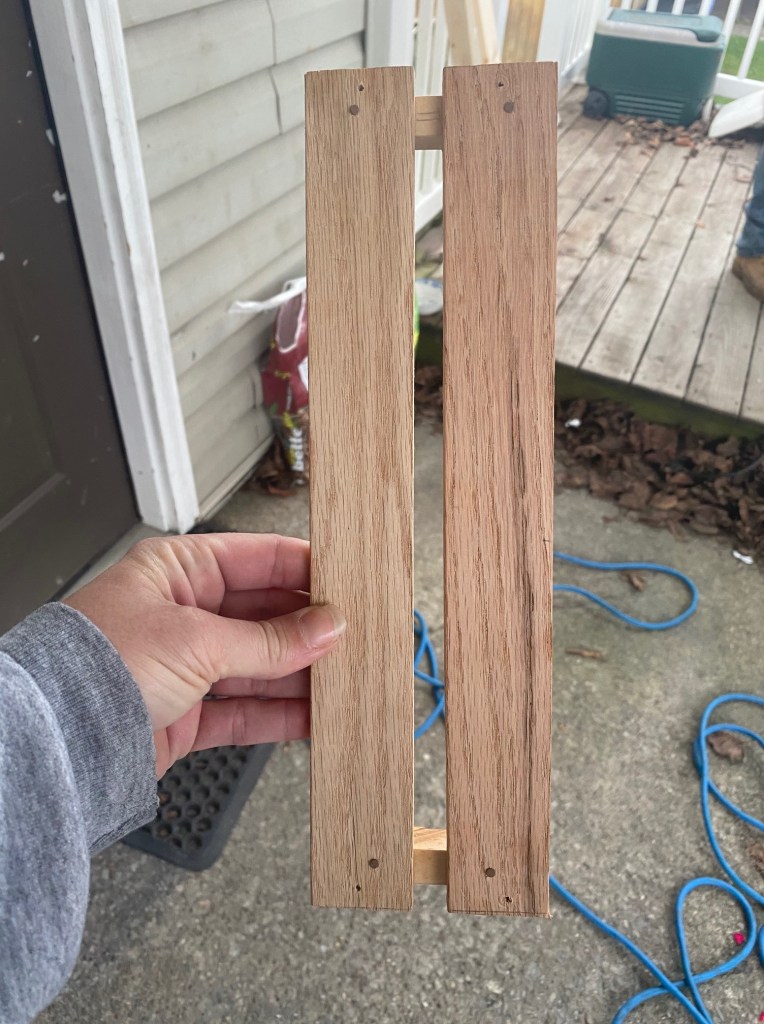
We decided that making the frame of the crate first would be easiest. So, we made the sides and connected them to each other and then attached it to the base.
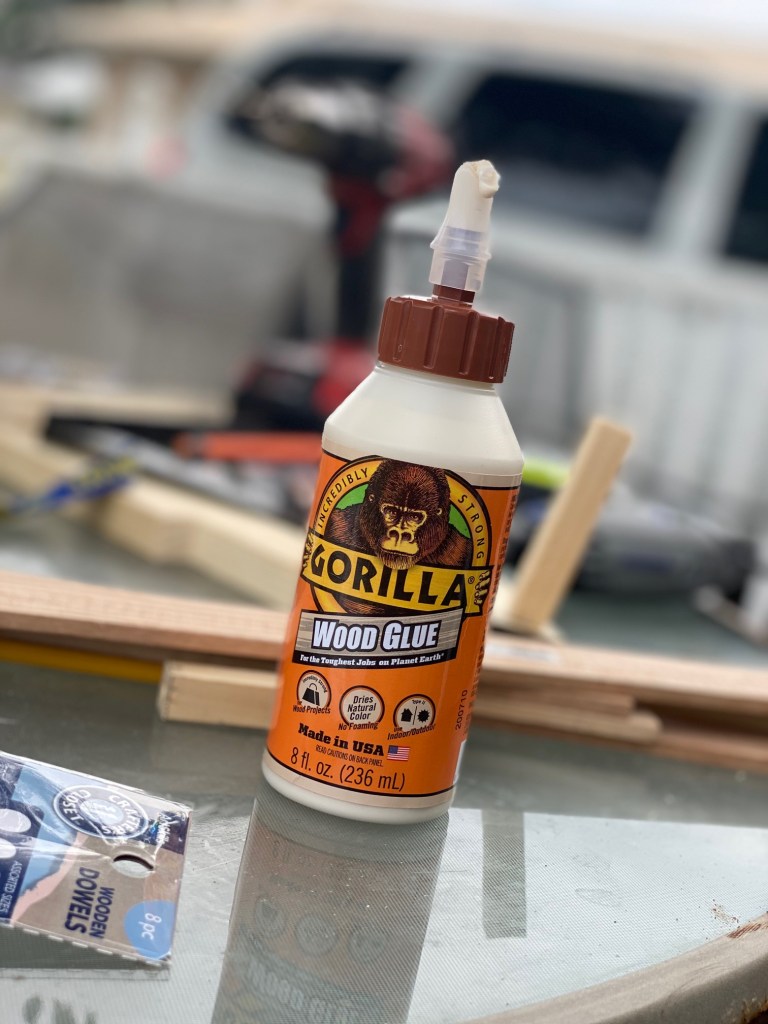
We put the dowels into the holes on the base, and used Gorilla Wood Glue to glue them in place.
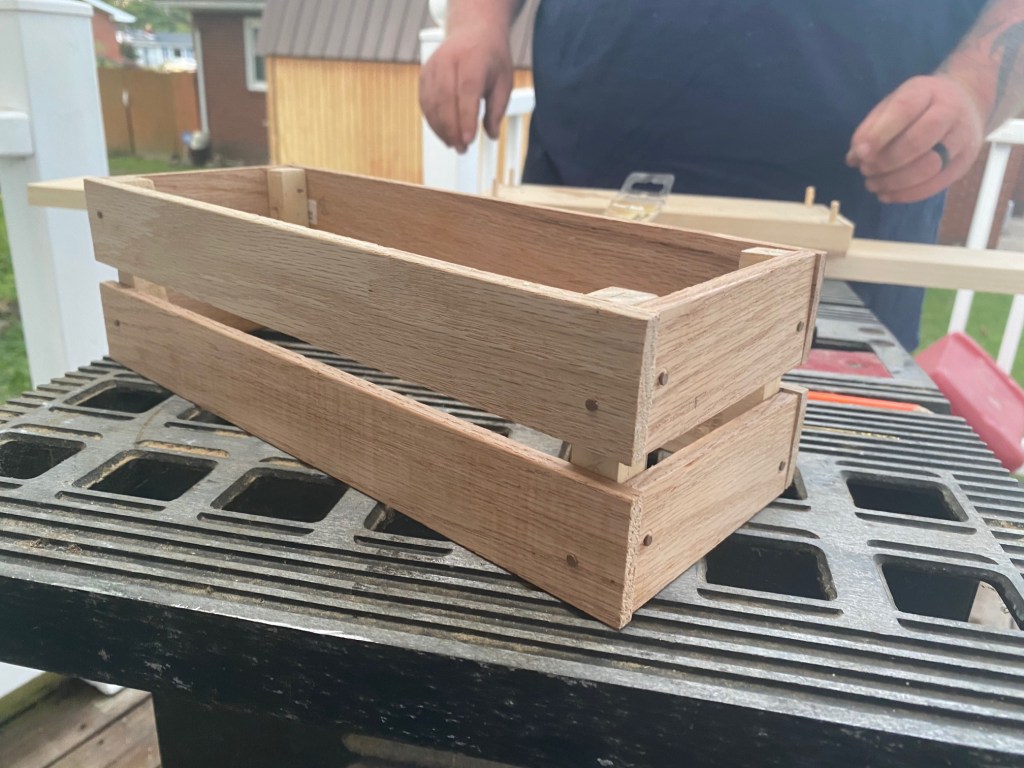
Then we glued them in place with some Gorilla Wood Glue.

We used clamps and let them dry for about an hour.

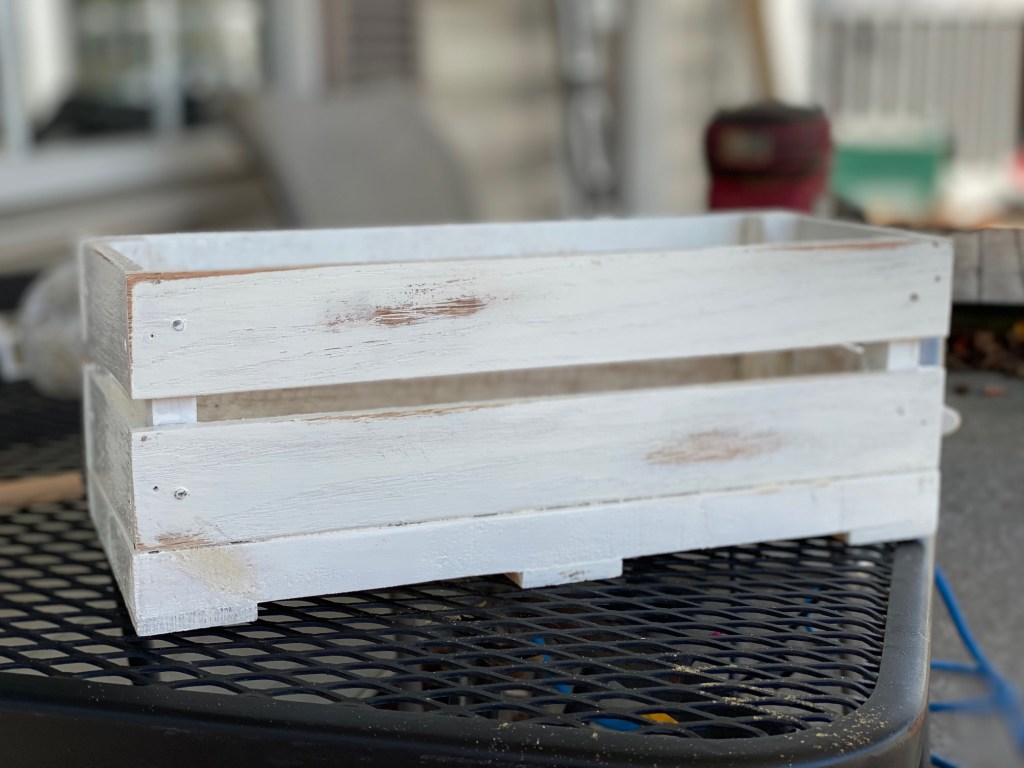
The next day, I sanded it down to prepare it for paint.
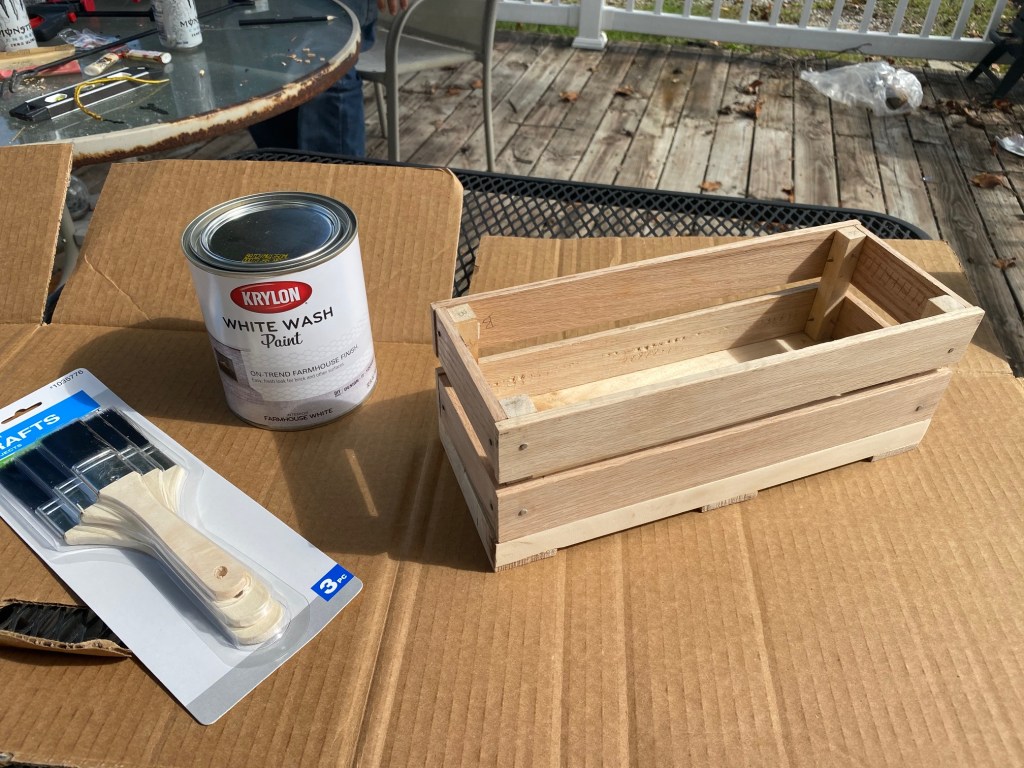
To be honest, I’m extremely disappointed in the paint that I chose. I should have gone with my gut and bought chalk paint. This paint was very thin and took way too many coats.
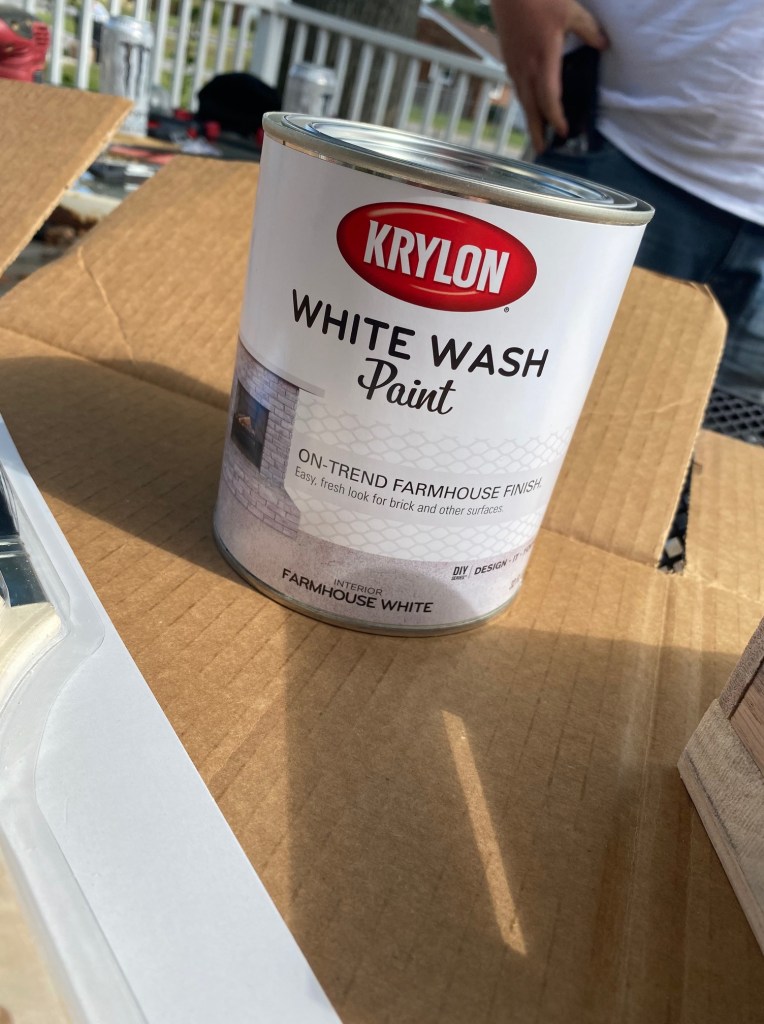
After the paint was dry, I tried to sand some off to give it the “farmhouse”/rustic look, but again.. this paint was a big disappointment. It did not sand off the way regular chalk paint does. So, I am not completely happy with the way it turned out.. but you live and learn, and make changes.
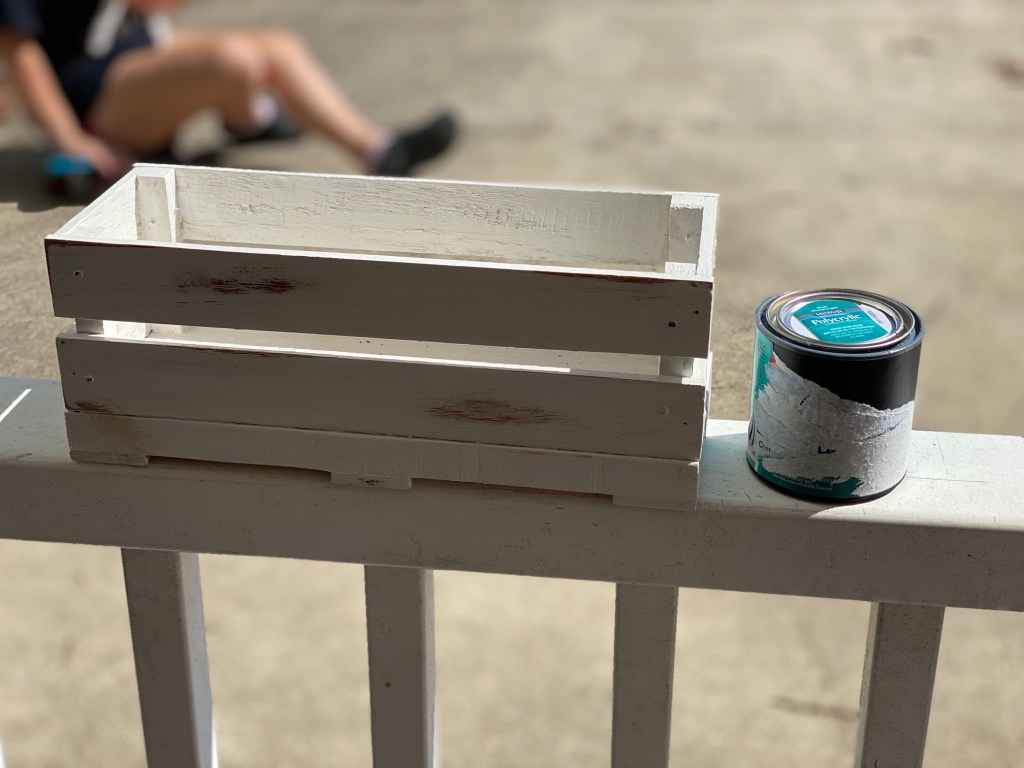
Lastly, I applied Polycrylic to seal it. ((I also had this lying around from a previous project))
We got about halfway through and realized we had made a mistake, so we went back and redid the first half. I tried to put the steps/pictures in an order that made sense, but also made the constructing process easier, if you decide to make one of these yourself.
Also, like I said in my previous post (and above), at the end of this, the crate ended up being too small (that’s why I said to add an inch) to use with the large Mason jars that I had painted before. I ended up painting the smaller jars that I grabbed from my mom’s storage unit. They fit almost perfectly. So, personal preference, if you want to use the larger jars, make the crate a little bigger, if not, us the dimensions in this post. 😊
Anyway.. here’s the final product!!

Have you ever had any mishaps when you’ve built something?
What’s your favorite thing you’ve ever built?


