
Who doesn’t like Mason Jars? They’re so versatile. I’m trying to give our house a kind of Farmhouse look, so I’m always looking for DIY projects that don’t break the bank. I like to think of myself as somewhat crafty. ((I always have a ton of ideas for projects in my head.. just ask Donald🤣))
I saw a picture of some painted Mason Jars with flowers in them when I was browsing the interwebs and really wanted to make some. So… here I am. Showing you what I created. And honestly, it cost less than $30 for the entire project.
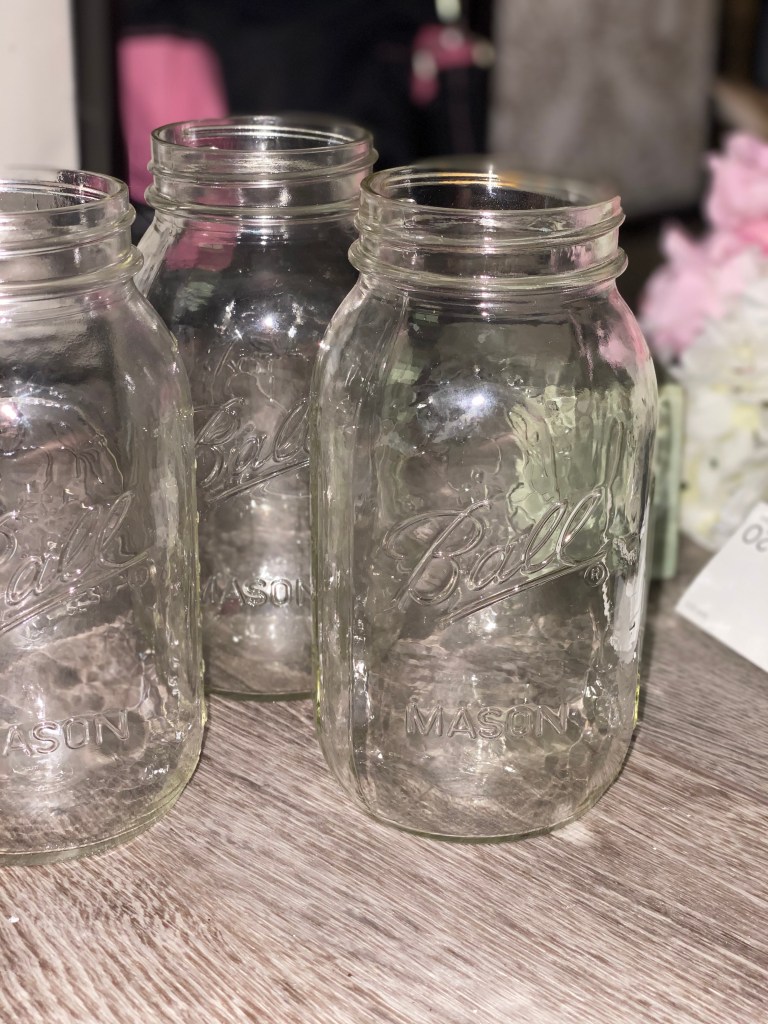
My parents can vegetables, so I was able to steal a few jars from my mom. Everything else, I got at Walmart, Dollar General, and the Dollar Tree.
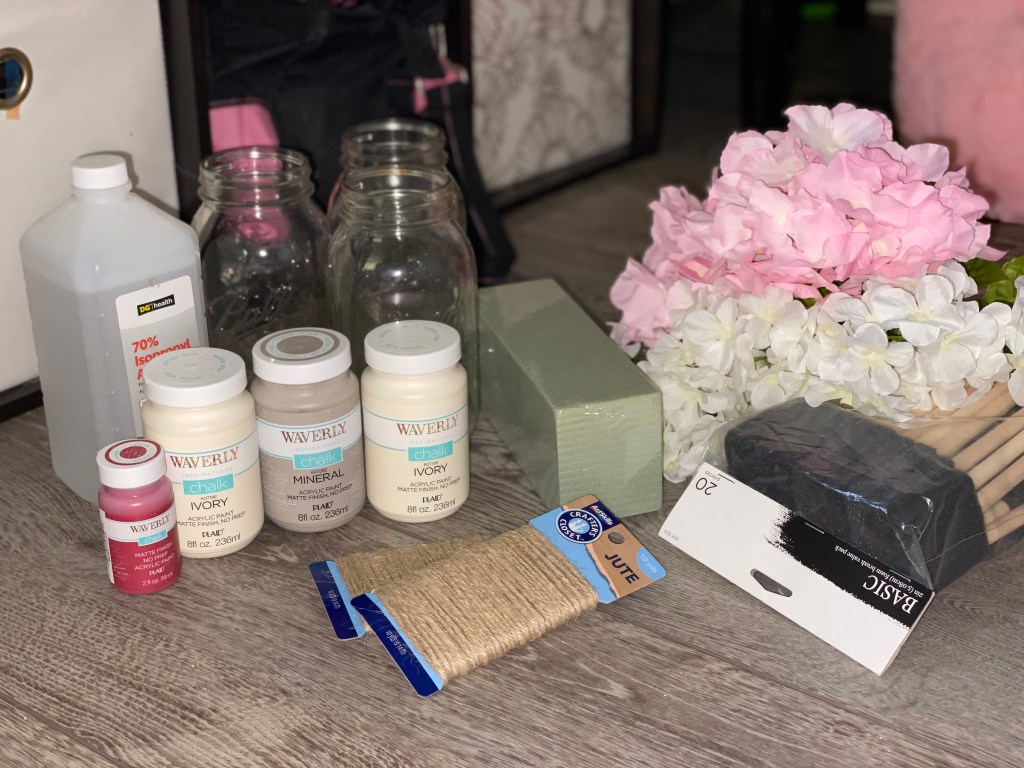
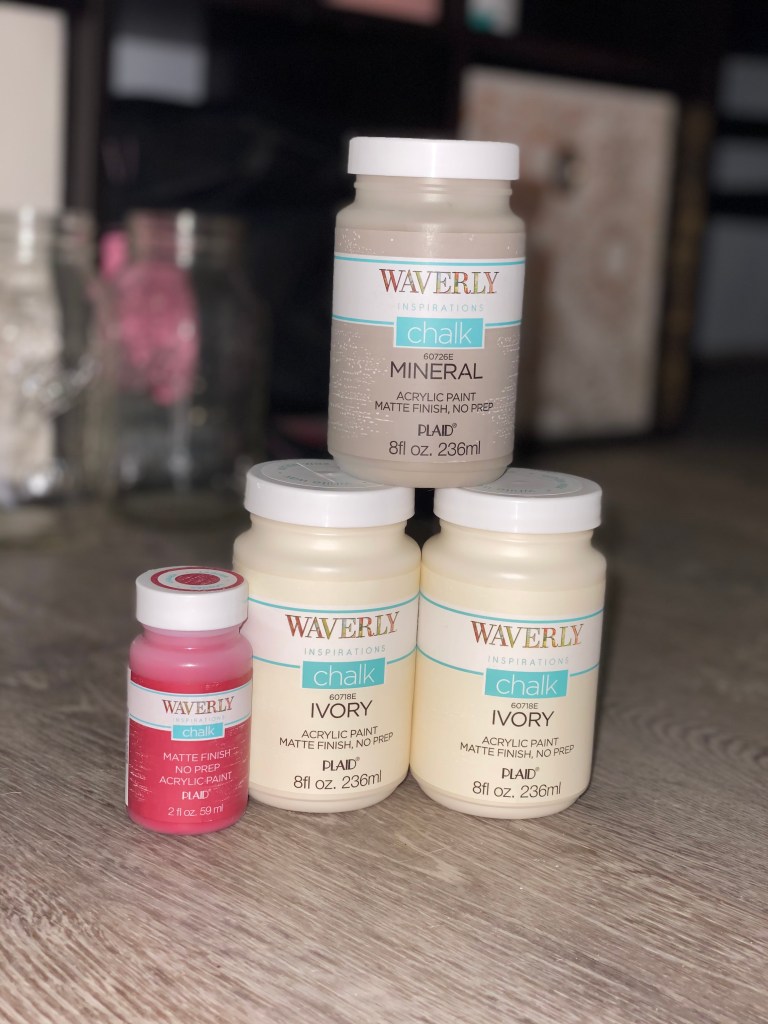
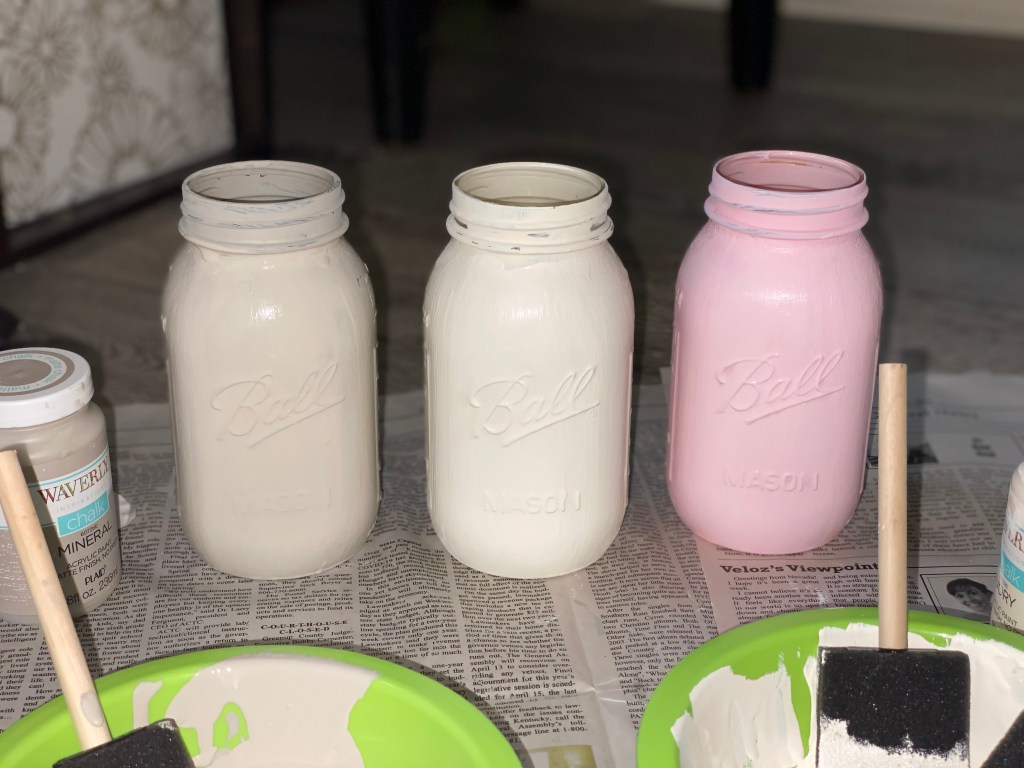
The best paint to use to paint glass is acrylic or chalk. I found these at Walmart. It’s Waverly acrylic chalk paint. They were around $4 each for the big jars and $2 for the small jar. The colors in our living room are white, gold, and pink, so I bought a small jar of red to mix with one of the larger white to make the perfect color. There are a gajillion colors to choose from, depending on your Walmart’s stock. Check online if you can’t find the color you want in-store.
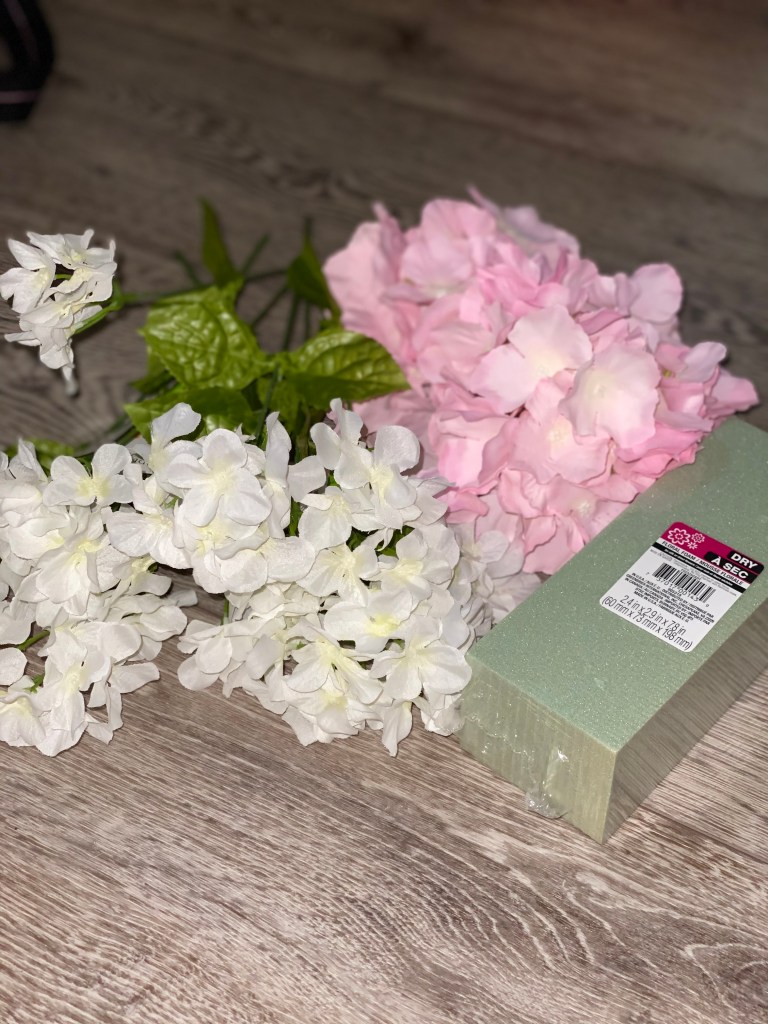
I got these flowers at Walmart, however, I ran out halfway through the project, so I ran to the Dollar Tree down the road and got the exact same flowers there for $1 each. I believe they were $3 each at Walmart. I also bought floral foam to use inside of the jars to hold the flowers in place.
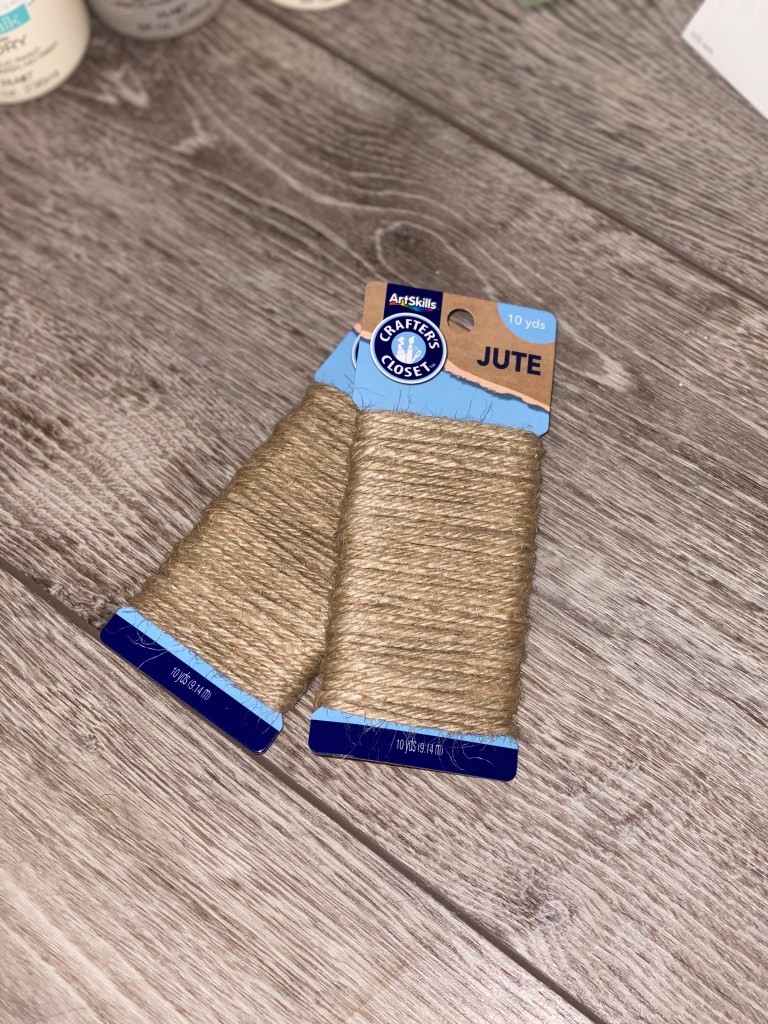
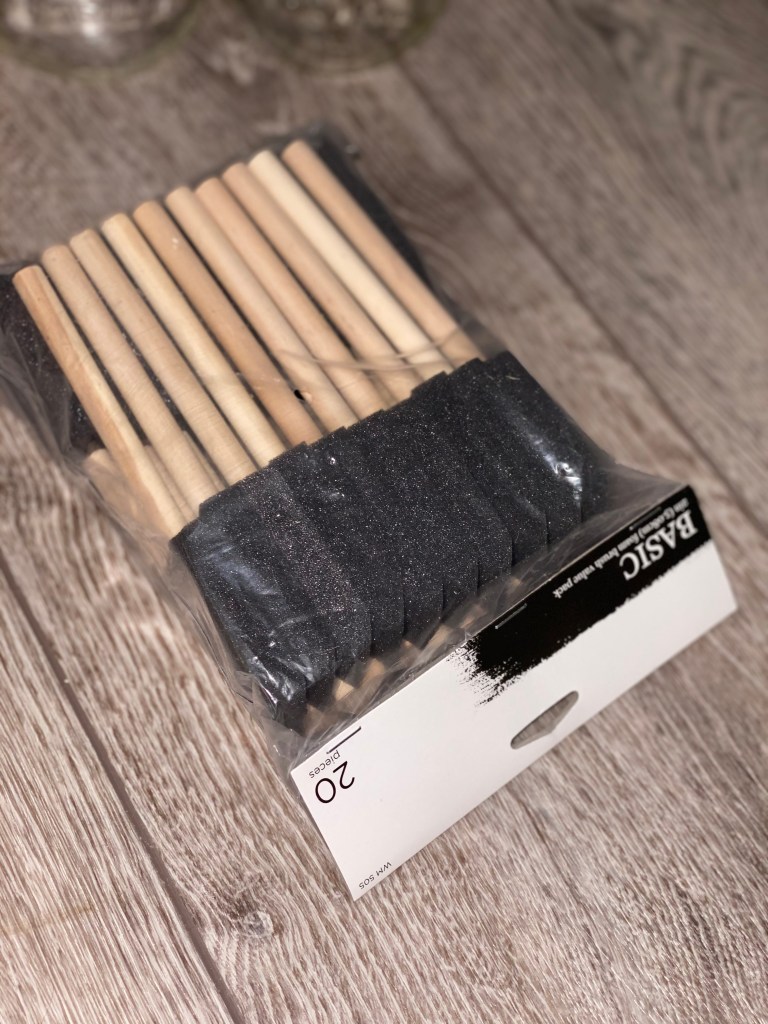
The twine I got at Dollar General for a couple of bucks. The brushes came from Walmart.
Alright.. now for the fun part!! Making them!!
Step 1: Cleaning the Mason Jars
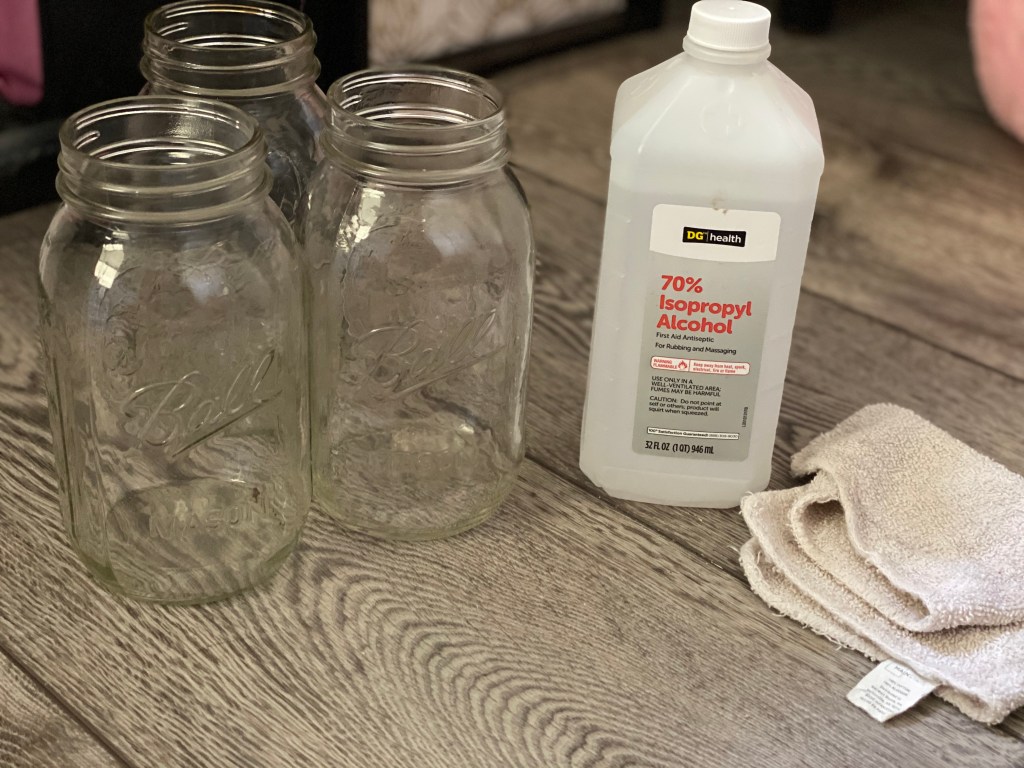
Using Rubbing Alcohol, clean the outsides of the jars (and/or insides if you’re going to paint them). I used an old washcloth to clean them, but I have seen people use cotton balls/rounds,
Step 2: Painting the jars

Paint a thin layer on the jars (you’re going to need about three coats). For best results, let them dry approximately 2 hours in between coats.
Step 3: Let them dry
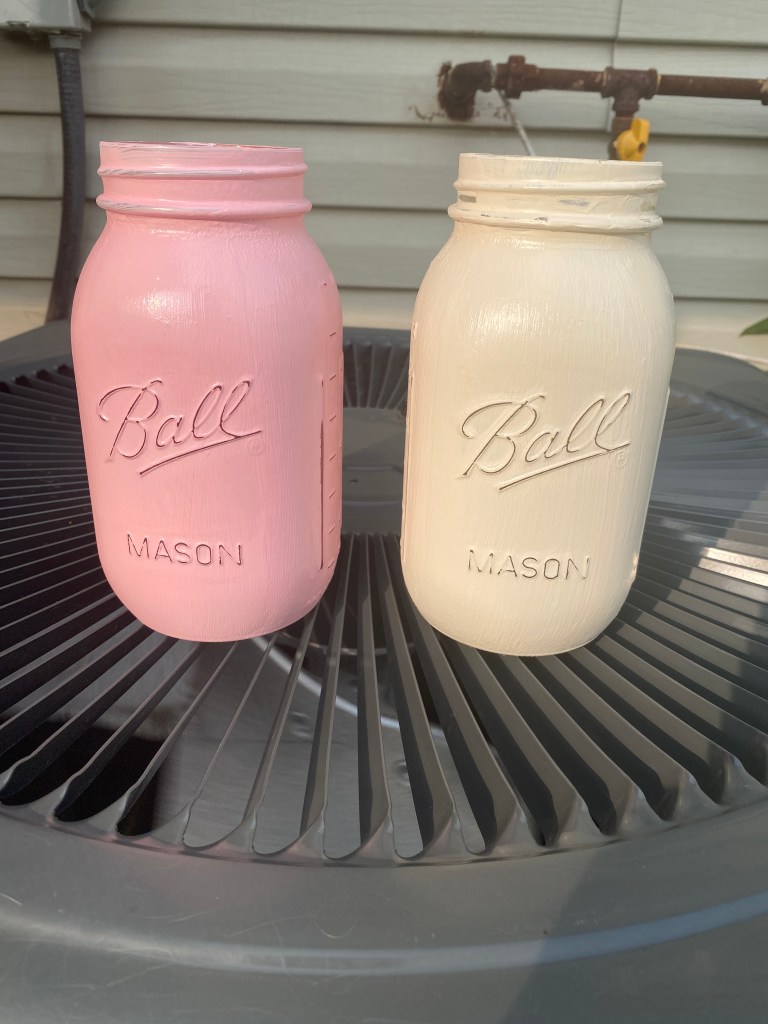
((After they are fully dry, you can use fine grit sandpaper to give them a rustic look))
Step 4: Seal with Acrylic Sealer
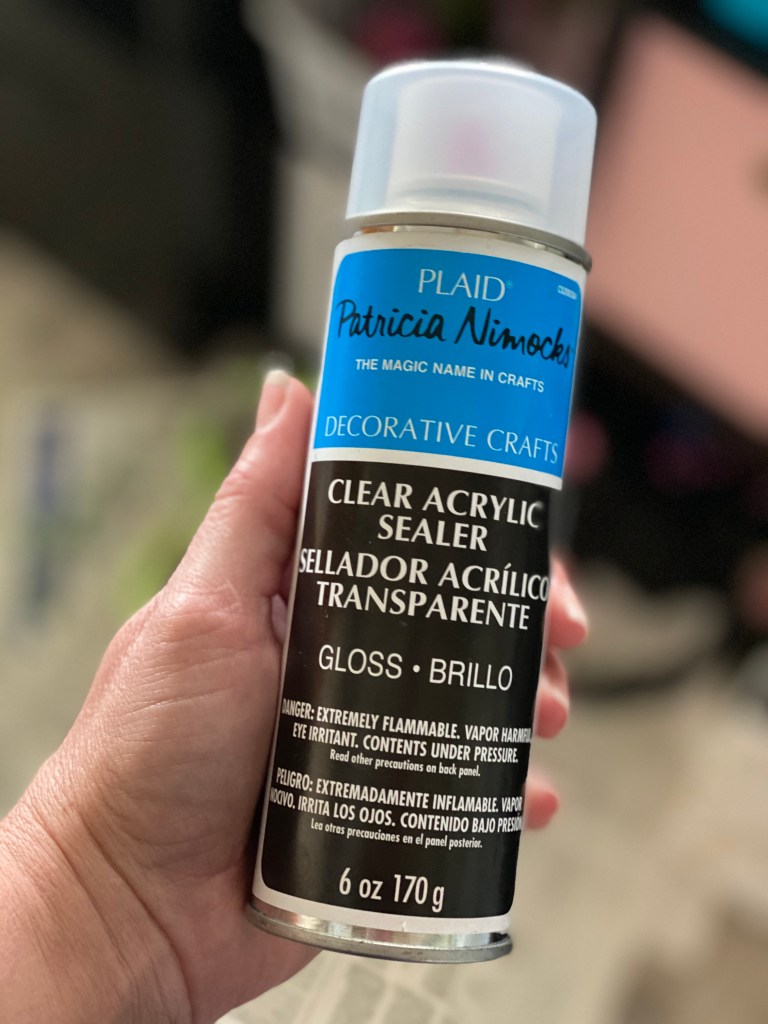
I actually had this lying around, left over from another project, but you can get this at any hardware or craft supply store.
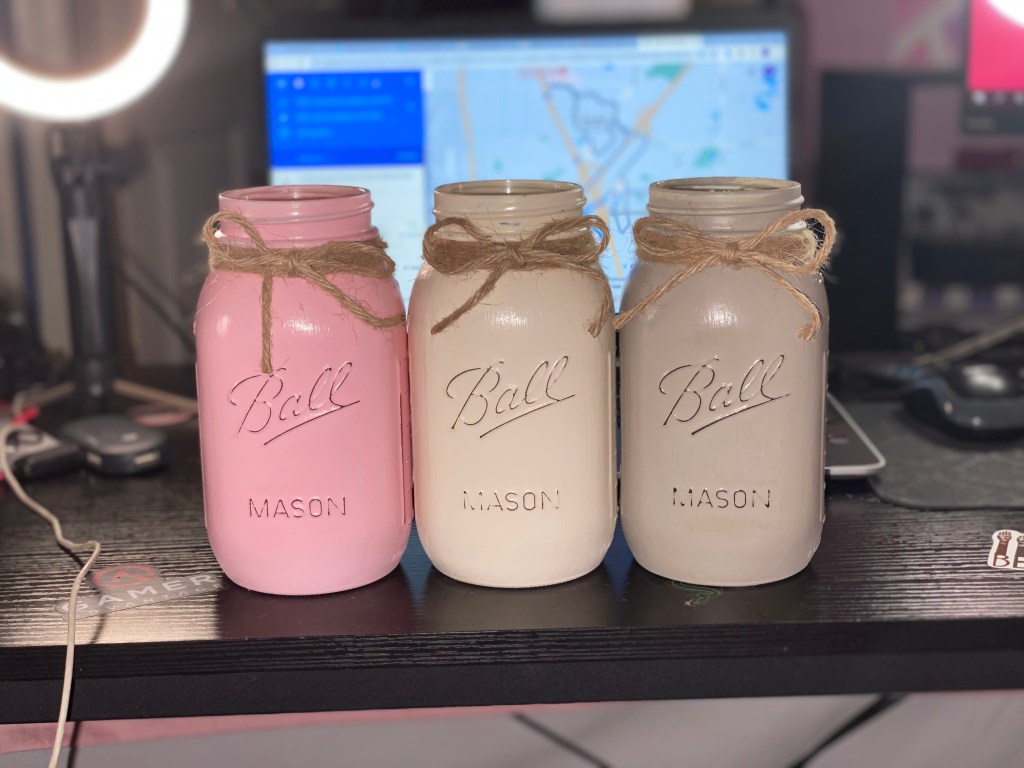
Step 5: Wrap with Twine
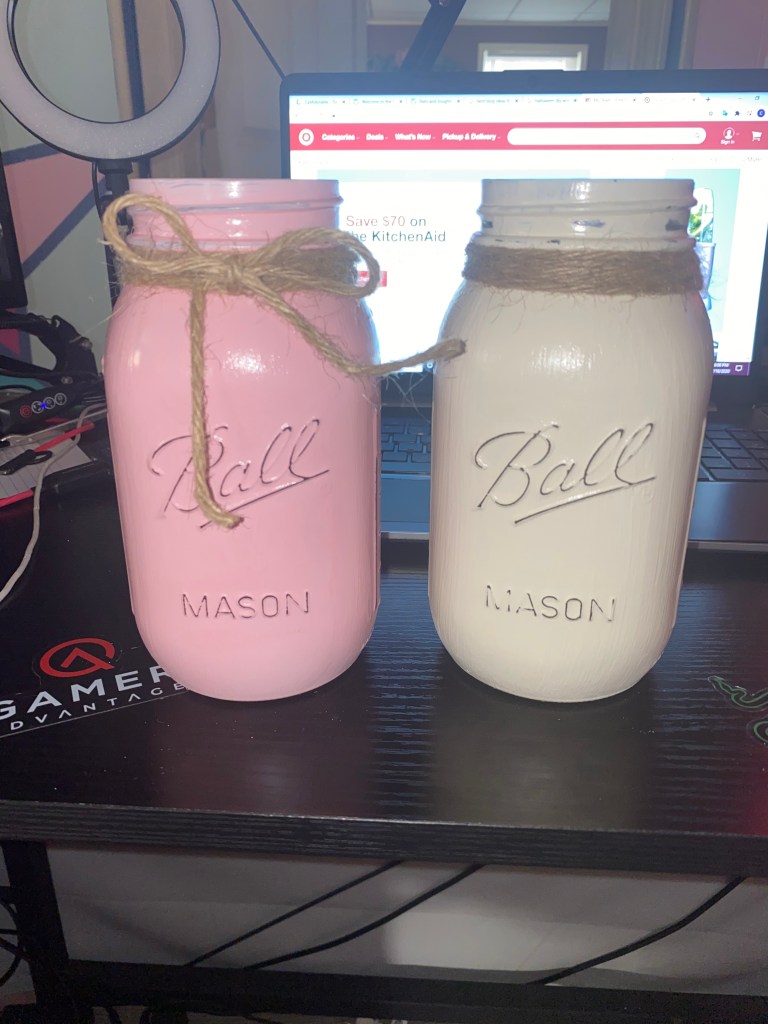
I wrapped the twine around five times, but that is definitely a personal preference. Hot glue the last piece to the back where it won’t be visible. I made the bow separately and used a hot glue gun to attach it to the front. Repeat on all three jars.
Step 6: Add the flowers
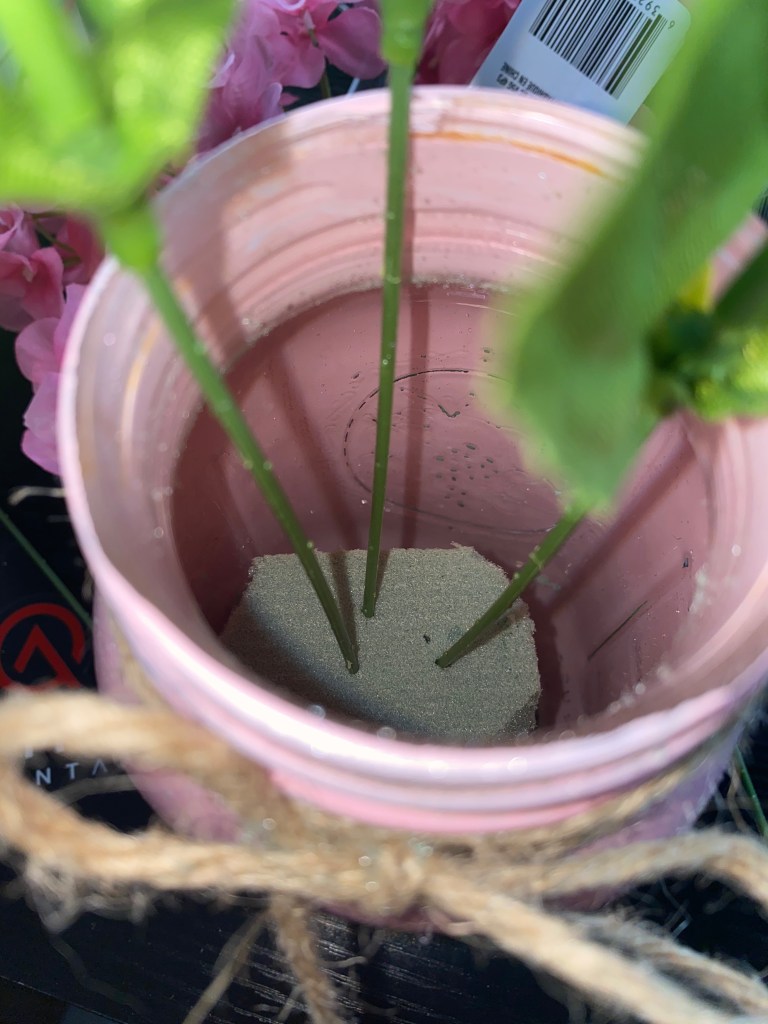
I cut the foam into three pieces and put it in the bottom of the jars to help keep the flowers in place. You may not need to do this, depending on what kind of flowers you are using. Add flowers until you achieve the desired look.
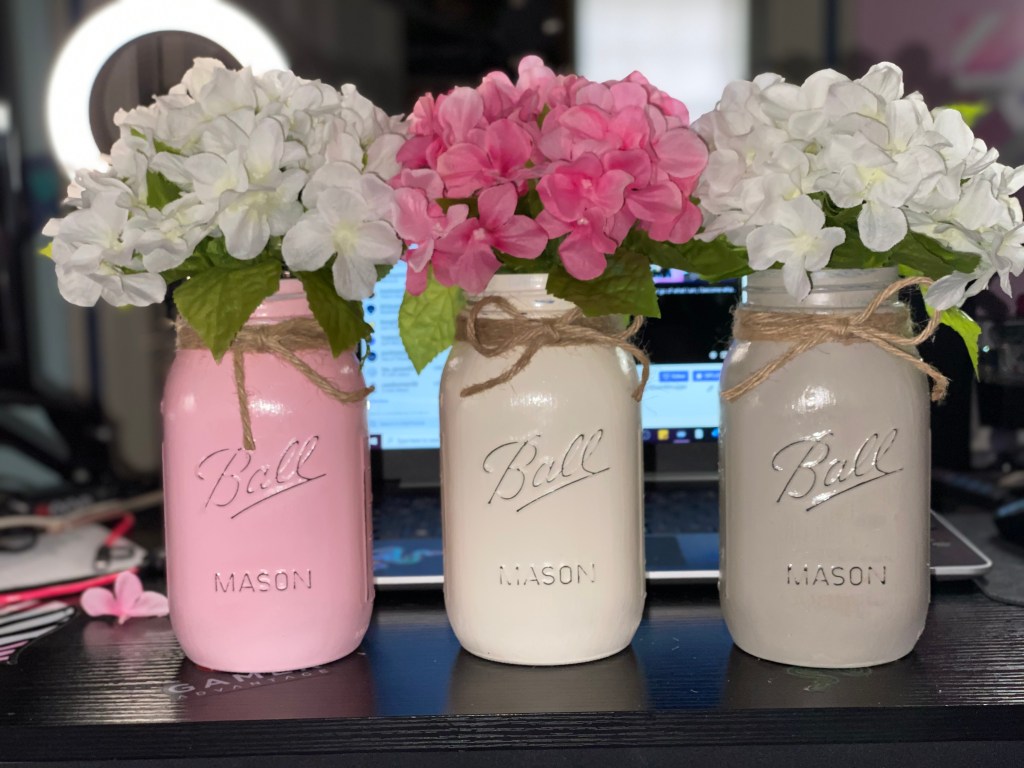
I chose to use white and pink flowers to match the decor in the living room, but I am not entirely sold on it. I may change the pink out for white, and just have all white. (I am not sure yet)
Tada.. you’re done!! Super easy. Super cute. I love them. I am going to make a wooden tray for them to sit in, I just need to get the wood. Hopefully it will be finished soon, and I can show you the real end result. But for now, I have set them on my coffee table, as is,

What did you think of this project?
Would you consider making this for your home?
What other projects would you like to see me do? I’m always up for a challenge!!


1 Comment